How to Use Apidog to Write WebSocket API Documentation
WebSocket is an advanced API technology that enables full-duplex communication over a single TCP connection. Unlike traditional HTTP requests, which are typically unidirectional, WebSocket allows both the client and server to send and receive messages simultaneously, making it ideal for real-time applications like chat systems, live notifications, and gaming platforms.When it comes to managing and documenting WebSocket APIs, Apidog is a powerful tool that simplifies the process. Not only does it provide robust debugging capabilities, but it also offers an intuitive way to create comprehensive API documentation.Writing WebSocket API Documentation in Apidog#
Documenting your WebSocket API is just as important as debugging it. Apidog makes this process straightforward by allowing you to create Markdown-based documentation. Here’s how you can do it:1.
Create a Markdown Document: In Apidog, start by creating a new Markdown file for your WebSocket API documentation.
2.
Describe the API: Use Markdown to write a detailed description of your WebSocket API. Include information about its purpose, endpoints, and usage scenarios.
3.
Insert Schema Components: To describe the data structures and message formats, insert Apidog’s schema components. For instance, you can define the JSON structure of a chat message like this:{
"message": "Hello, World!",
"timestamp": "2023-10-01T12:34:56Z",
"sender": "User123"
}
4.
Add Examples: Enhance your documentation by including real-world examples of API usage. These examples can be inlined within the Markdown or referenced from the schema components.
5.
Organize and Publish: Once your documentation is complete, organize it into sections for clarity. You can also set the status, responsible person, and tags for the API to keep track of its lifecycle.
You can read the WebSocket documentation here, using the Coinbase WebSocket feed as an example. Debugging WebSocket APIs with Apidog#
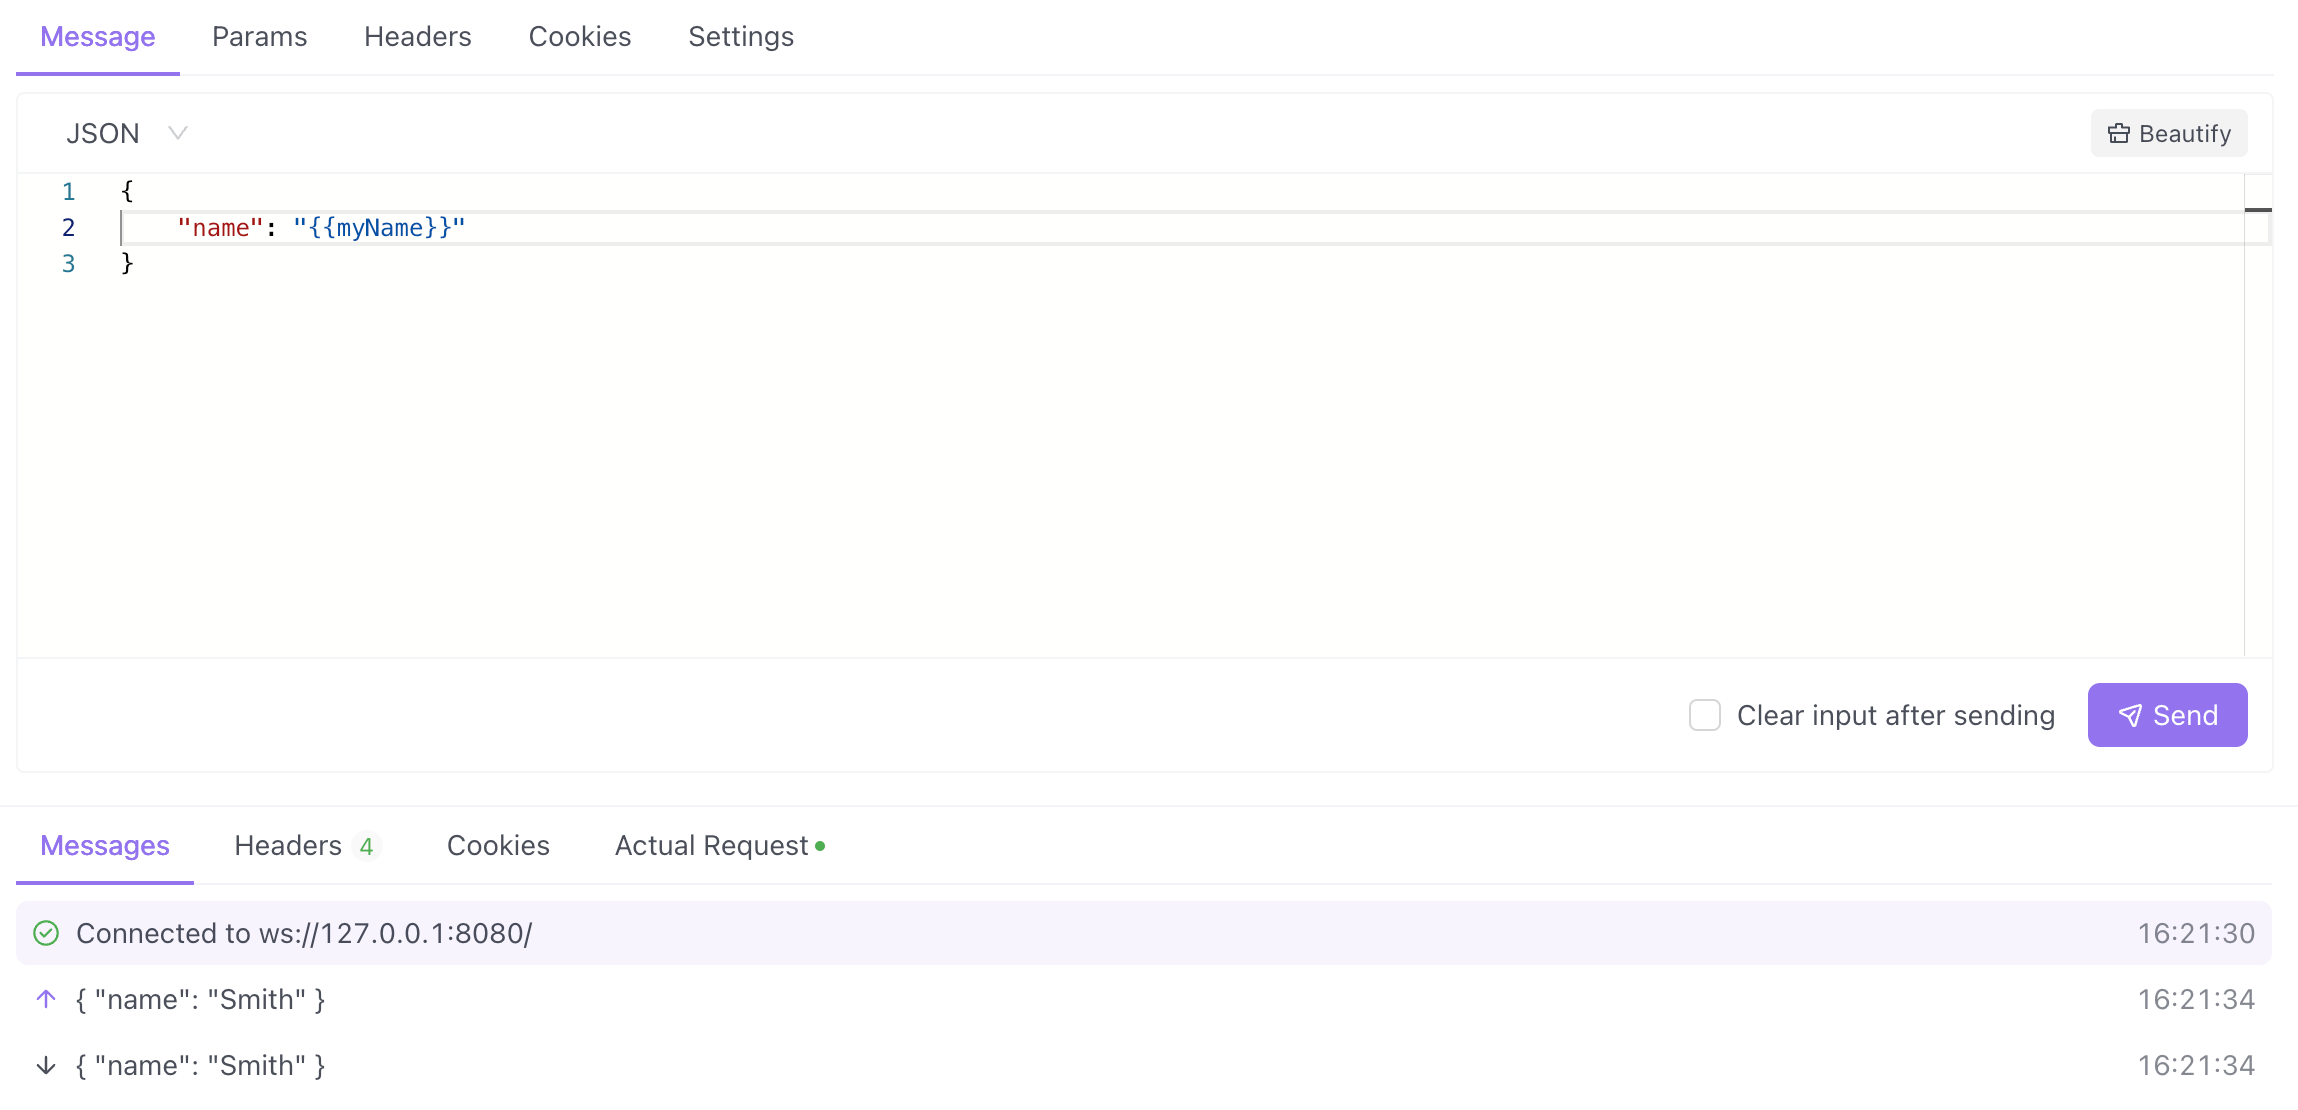
Apidog’s WebSocket debugging feature is designed to streamline the development process. Once a WebSocket connection is established, you can compose and send messages under the Message tab. Apidog also allows you to monitor incoming messages in real-time, making it easier to test and debug your WebSocket APIs .You can create a WebSocket endpoint within an HTTP project.1.
Click the + button on the left and select New WebSocket.
2.
Enter the WebSocket server URL, beginning with ws or wss.
4.
To disconnect the WebSocket endpoint, click Disconnect.
Message tab.In addition to directly composing messages in text formats such as Text, JSON, XML, and HTML, you can also compose messages in binary formats using Base64 or Hexadecimal.The editor will apply syntax highlighting to the message content based on the selected message format. If the message is in JSON, XML, or HTML format, you can also format the input content. Modified at 2025-03-25 03:12:37